
DRILL BIT MAINTENANCE
How to sharpen drill bits safely starts with identifying whether the bit is actually suitable for sharpening. A dull twist drill bit can often be restored, but badly damaged, cracked, overheated, or specialty bits may need replacement or a manufacturer-approved sharpening method instead.
For most DIYers, the goal is not to reshape a bit from scratch. It is to restore two reasonably even cutting lips while preserving the bit’s original geometry and avoiding excessive heat.
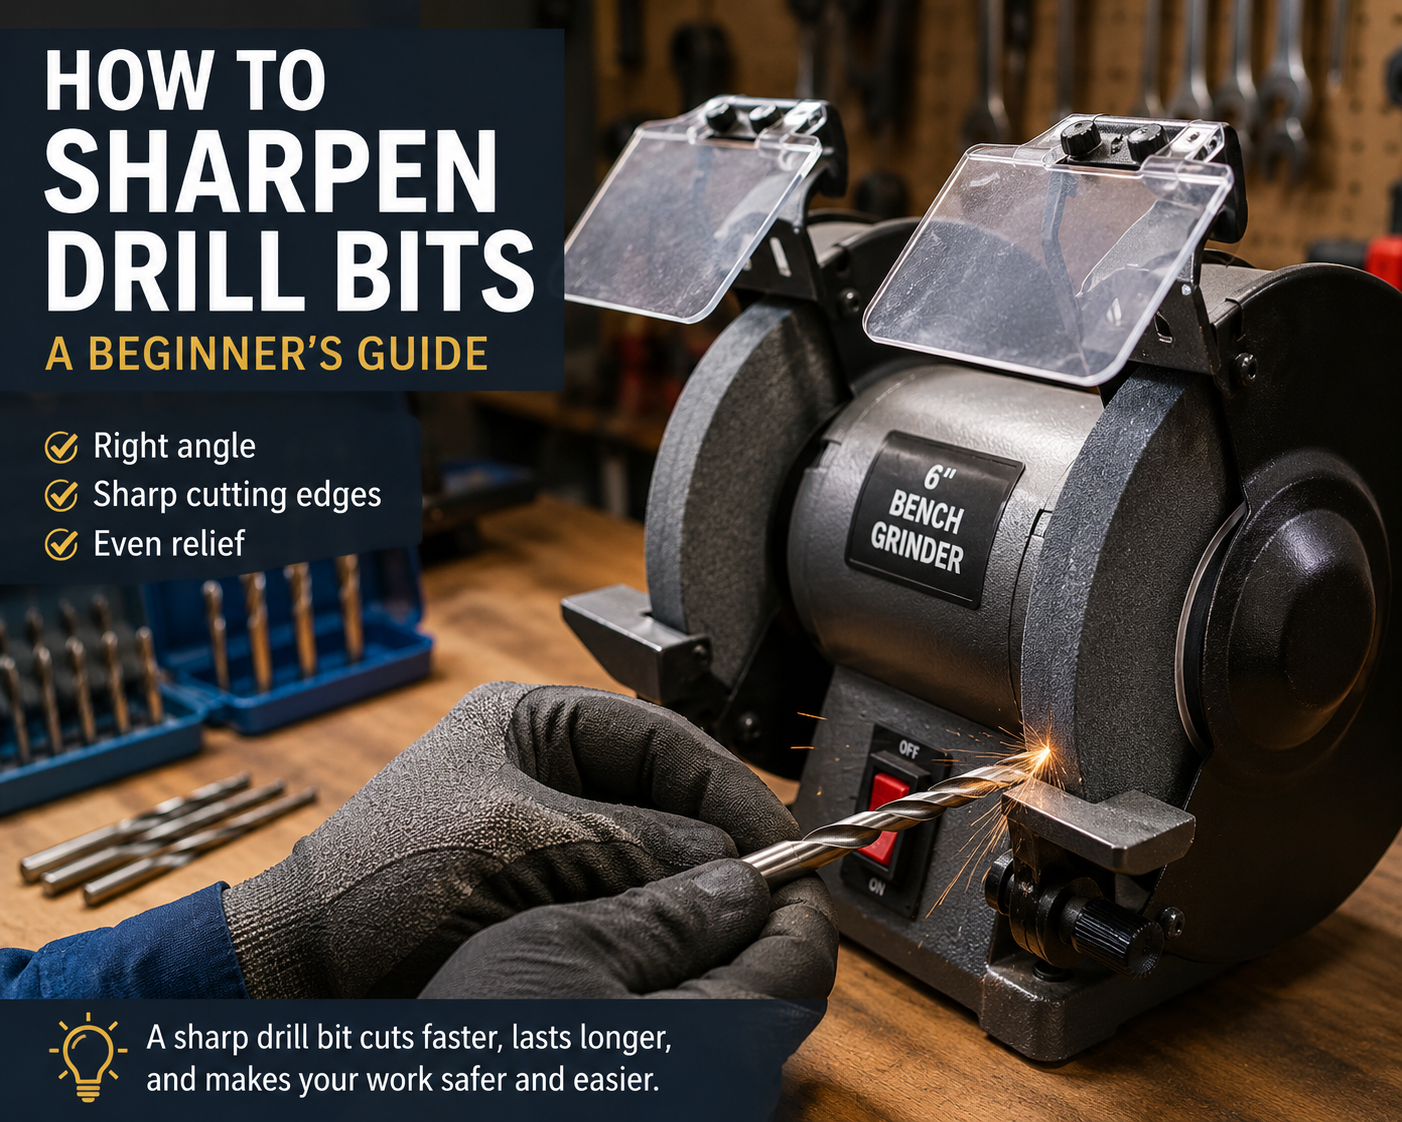
Can You Sharpen a Drill Bit?
Many common high-speed-steel twist drill bits can be sharpened when their cutting edges become dull. However, not every drill bit should be treated the same way. Brad-point, masonry, step, cobalt, carbide-tipped, and other specialty bits can have different geometries, materials, coatings, or manufacturer recommendations.
If you are unsure what type of bit you have, identify it before sharpening. For general drilling setup and bit installation, see our cordless drill beginner’s guide.
Signs Your Drill Bit May Be Dull
- It takes noticeably more pressure to start or continue a hole.
- Drilling feels slower than it did when the bit was in good condition.
- The bit tends to rub rather than cut cleanly.
- The cutting lips look rounded or visibly worn.
- The bit generates excessive heat during otherwise appropriate use.
- Hole quality has deteriorated despite correct drill speed and technique.
These symptoms do not automatically mean sharpening is the answer. Incorrect speed, unsuitable bit selection, poor workpiece support, or using the wrong drill mode can produce similar problems.
What You Need to Sharpen a Standard Twist Drill Bit
- Safety glasses or suitable eye protection
- A bench grinder or purpose-designed drill-bit sharpening tool
- A stable, well-lit work area
- Scrap material for testing
- The drill bit manufacturer’s guidance when available
How to Sharpen Drill Bits Step by Step
Step 1: Inspect the Bit Before Sharpening
Clean the bit enough to see its cutting end clearly. Look for cracks, bending, severe chips, damaged carbide inserts, heavy corrosion, or discoloration associated with serious overheating.
A bit with structural damage should not simply be ground until it looks sharp. Replacement is usually the safer and more reliable option.
Step 2: Identify the Existing Cutting Geometry
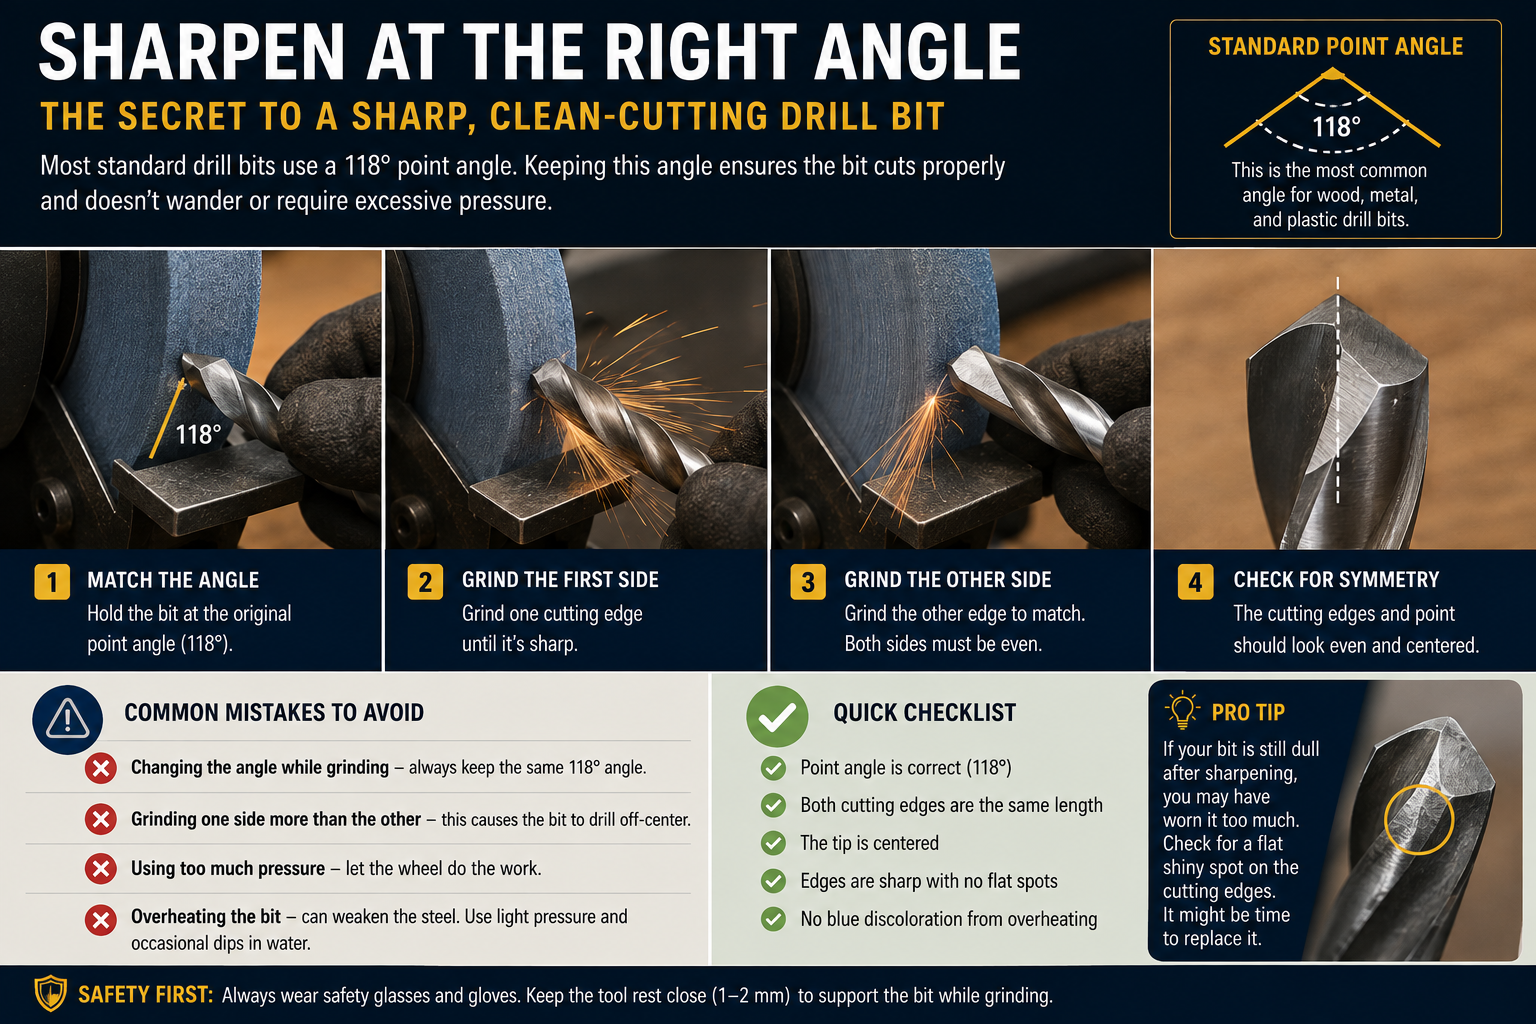
Look at the point from the end and from the side. A conventional twist bit has two primary cutting lips. Your aim is to follow the geometry already present rather than inventing a new angle.
Many general-purpose twist drills use a point angle around 118 degrees, while other bits may use different geometry. Do not assume one angle is correct for every bit; check the manufacturer’s specification when precision matters.
Step 3: Set Up the Grinder or Sharpening Tool
Make sure the machine is stable, its guards and tool rests are correctly positioned, and the abrasive wheel or sharpening mechanism is suitable and in serviceable condition. Follow the machine manufacturer’s setup instructions before switching it on.
A dedicated drill-bit sharpener can make maintaining consistent geometry easier for beginners. A bench grinder offers more flexibility but demands better control.
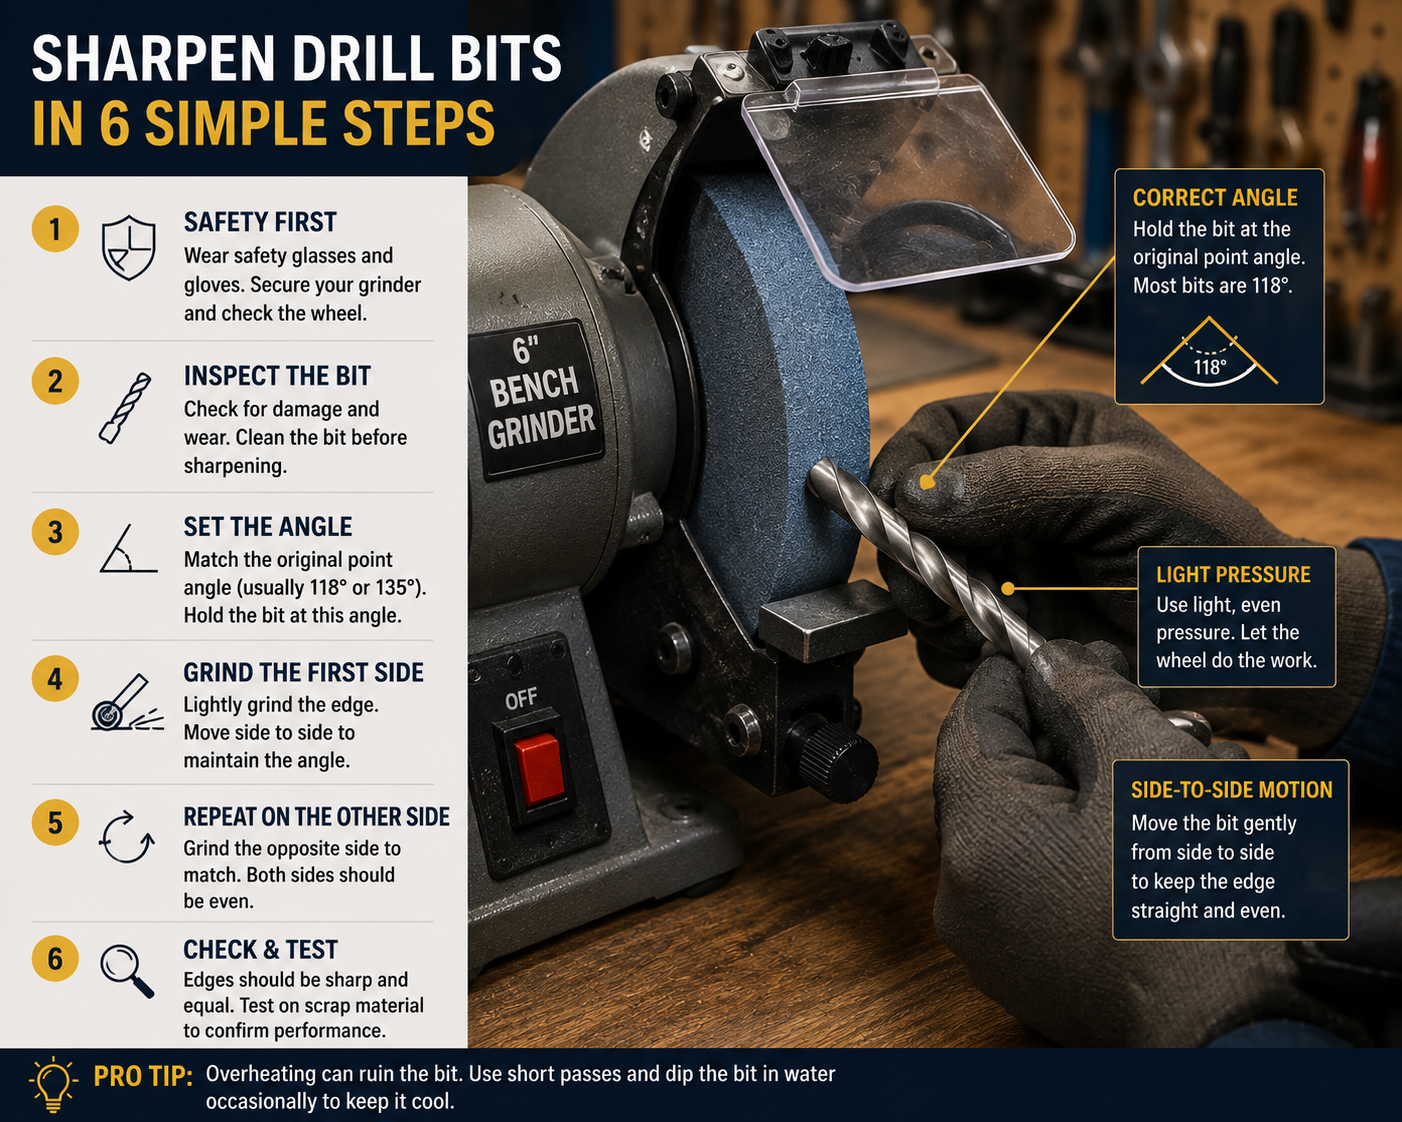
Step 4: Sharpen the First Cutting Lip
Present the cutting edge to the abrasive while maintaining the bit’s existing angle. Use a light, controlled touch rather than forcing the bit into the wheel.
Remove only enough material to restore the edge. Short passes help limit heat buildup and make it easier to check your progress.
Step 5: Sharpen the Second Lip Evenly
Rotate the bit and repeat the process on the second cutting lip. The two lips should be as similar as practical in length and angle. If one side is substantially longer or shaped differently, the bit may cut an oversized or inaccurate hole and may not track properly.
Step 6: Control Heat
Do not keep grinding continuously until the bit becomes extremely hot. Excessive heat can affect the cutting edge and, depending on the bit material, may reduce its useful performance.
Use short passes and follow the sharpening equipment and drill-bit manufacturer’s guidance regarding cooling. Avoid improvised cooling methods when the manufacturer advises against them.
Step 7: Inspect the Point
Stop the machine before performing a close inspection. Compare both cutting lips. Look for reasonably even edges, similar lip lengths, and obvious remaining chips or rounded areas.
The point does not need to look cosmetically perfect, but large asymmetries are a sign that more careful correction is needed.
Step 8: Test the Bit on Scrap Material
Install the bit correctly in your drill and test it on suitable scrap material using the appropriate speed, mode, and pressure. The bit should start and cut without requiring excessive force.
If you are learning drill setup at the same time, our guide to using a cordless drill covers chuck operation, speed settings, clutch basics, and drilling technique.
Bench Grinder vs Drill-Bit Sharpener
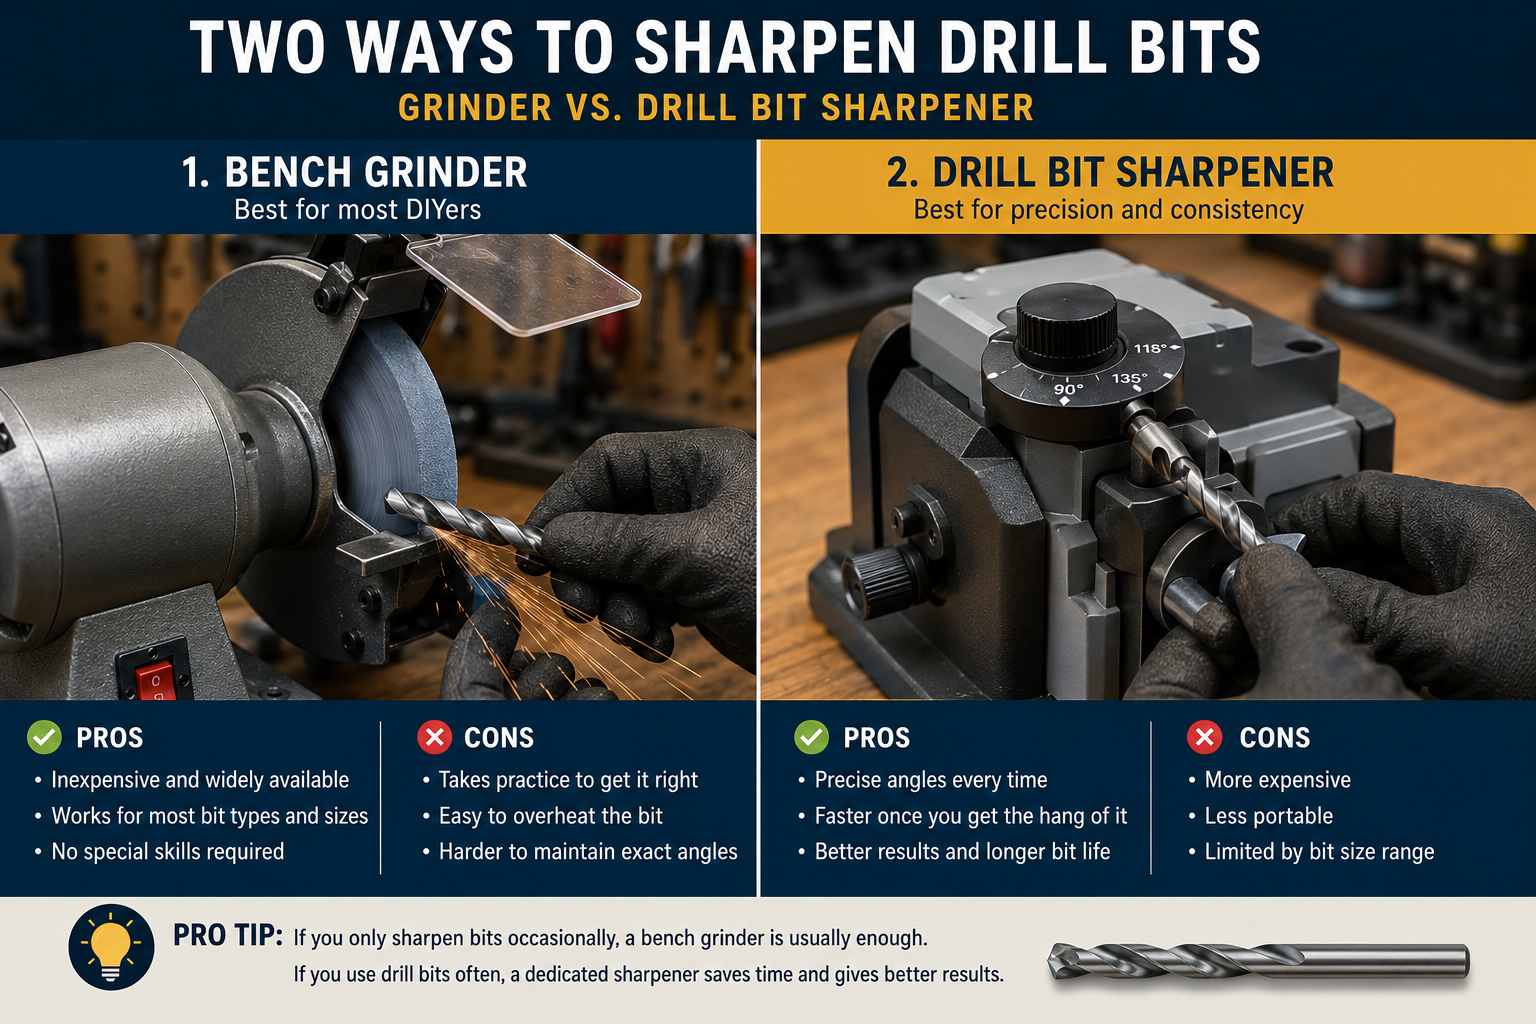
Bench Grinder
A bench grinder is versatile and can sharpen many standard twist bits, but results depend heavily on technique. Maintaining equal cutting lips and the correct relief behind the cutting edge takes practice.
Dedicated Drill-Bit Sharpener
A purpose-designed sharpener guides the bit through a more controlled process and can be easier for occasional DIY users. The trade-off is that the machine may only support certain bit sizes, types, and point geometries.
Whichever method you choose, the instructions for the specific sharpening equipment take priority over generic technique.
Common Drill-Bit Sharpening Mistakes
Grinding One Lip More Than the Other
Unequal cutting lips can cause poor tracking, vibration, and inaccurate holes. Alternate sides and inspect frequently rather than finishing one side completely before paying attention to the other.
Changing the Point Angle Too Much
Sharpening should normally restore the existing geometry. Aggressively changing the angle can alter how the bit cuts and may make it unsuitable for its intended material.
Overheating the Bit
Long, heavy grinding passes create unnecessary heat. Work gradually and inspect often.
Using Too Much Pressure
Pressing harder does not automatically create a better edge. It can increase heat, remove too much material, and reduce control.
Trying to Save a Damaged Bit
A cracked, bent, severely chipped, or otherwise compromised drill bit is not a good candidate for routine DIY sharpening. Replacement is often the better choice.
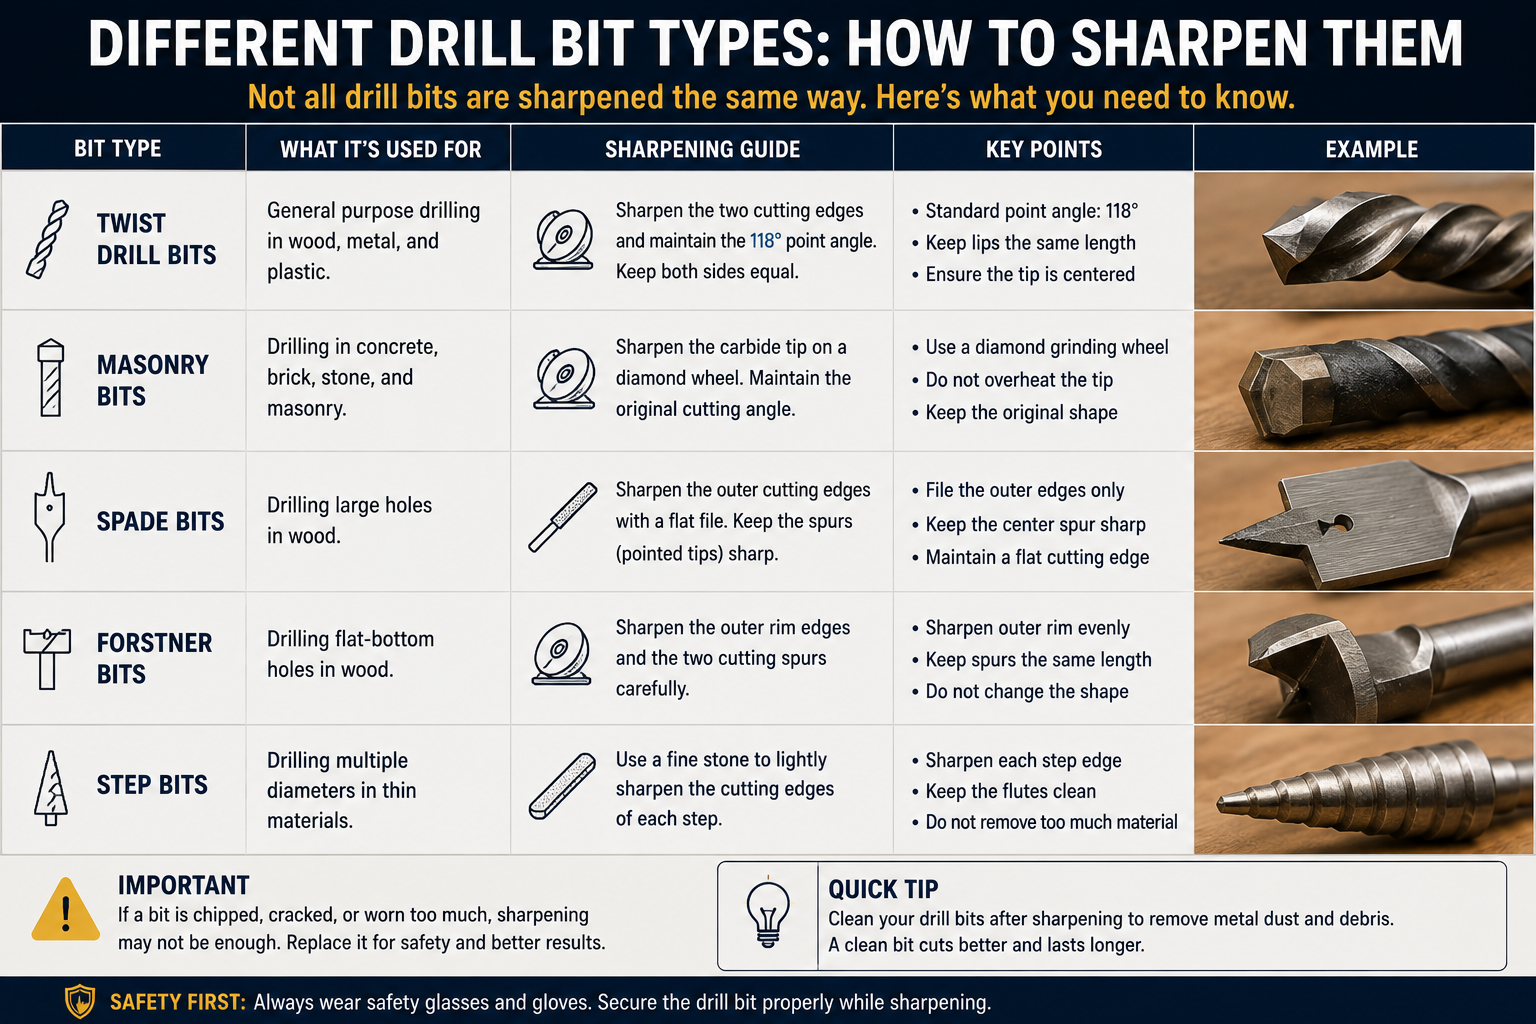
What About Cobalt Drill Bits?
Cobalt-alloy drill bits can often be resharpened, but they are harder than basic HSS bits and maintaining the correct geometry matters. Use sharpening equipment suitable for the material and follow the bit manufacturer’s recommendations.
Do not identify a bit as cobalt based only on its color. Surface finishes vary between manufacturers.
What About Masonry Drill Bits?
Masonry bits commonly use a carbide cutting insert or tip and should not automatically be sharpened like ordinary HSS twist bits. Incorrect grinding can damage the carbide or alter the cutting geometry.
If a masonry bit has stopped performing well, check the manufacturer’s sharpening or replacement guidance. For correct use of masonry bits and hammer mode, see our hammer drill beginner’s guide.
What About Brad-Point and Wood Drill Bits?
Brad-point bits have a center point and outer spurs that help produce clean, accurately located holes in wood. Their geometry makes freehand sharpening less straightforward than a standard twist bit.
For inexpensive or heavily worn brad-point bits, replacement may be more practical. Higher-quality bits may justify a sharpening method specifically intended for their geometry.
When Should You Replace a Drill Bit Instead?
Sharpening makes sense when a suitable bit is simply dull and enough material remains to restore the cutting edge. Consider replacement when:
- The bit is cracked or bent.
- The cutting end is severely chipped or damaged.
- A carbide tip or insert is loose or broken.
- The bit has been repeatedly sharpened and is substantially shortened.
- Its geometry cannot be restored reliably with the equipment available.
- The replacement cost is low compared with the time and uncertainty involved.
How to Keep Drill Bits Sharp Longer
Correct use reduces how often sharpening is needed. Match the bit to the material, use an appropriate speed, avoid excessive pressure, clear chips when necessary, and do not continue drilling with a bit that is obviously struggling.
Storage matters too. Keep bits organized so cutting edges are not constantly knocking against other metal tools. Our power tool storage guide explains how to protect tools and accessories from moisture, impact, and poor workshop conditions.
Routine inspection also helps catch wear early. See our power tool maintenance guide for a broader maintenance routine.
Frequently Asked Questions
Is it worth sharpening drill bits?
For good-quality twist bits that are simply dull, sharpening can extend their useful life. For inexpensive, badly damaged, or specialty bits, replacement or professional sharpening may make more sense.
What angle should I sharpen a drill bit to?
It depends on the bit. Many general-purpose twist bits use approximately a 118-degree point, while others use 135 degrees or other geometries. Preserve the existing geometry or follow the manufacturer’s specification rather than applying one angle to every bit.
Can I sharpen drill bits with an angle grinder?
An angle grinder is not the beginner-friendly choice for precision drill-bit sharpening. A properly set up bench grinder or dedicated drill-bit sharpener provides a more stable and controllable approach.
How do I know if both cutting edges are even?
Inspect the point head-on and compare the two cutting lips for length, angle, and symmetry. A drill-bit gauge can provide a more objective check when accuracy matters.
Can titanium-coated drill bits be sharpened?
Sharpening removes coating from the newly ground cutting surfaces. Whether resharpening is worthwhile depends on the underlying bit material, condition, and manufacturer guidance.
The Pelstro Bottom Line
For a standard twist drill bit that is simply dull, careful sharpening can restore useful cutting performance. The key is to preserve the existing geometry, keep both cutting lips even, remove material gradually, and avoid excessive heat. Specialty geometries and carbide-tipped bits may need different equipment or replacement, and any bit with structural damage should be taken out of service.
A sharp bit is only part of the equation. Continue with our Cordless Drill Beginner’s Guide.
Pingback: How to Use a Cordless Drill: A Beginner’s Guide - Pelstro