
CORDLESS DRILL BASICS
A cordless drill is usually the first power tool a DIYer buys—and one of the most useful. Once you understand the chuck, clutch, gears, and variable-speed trigger, drilling holes and driving screws becomes much easier. This Pelstro guide takes you from setup to your first controlled, accurate job. If you’re still choosing a tool, our best cordless drills guide compares our current recommendations.
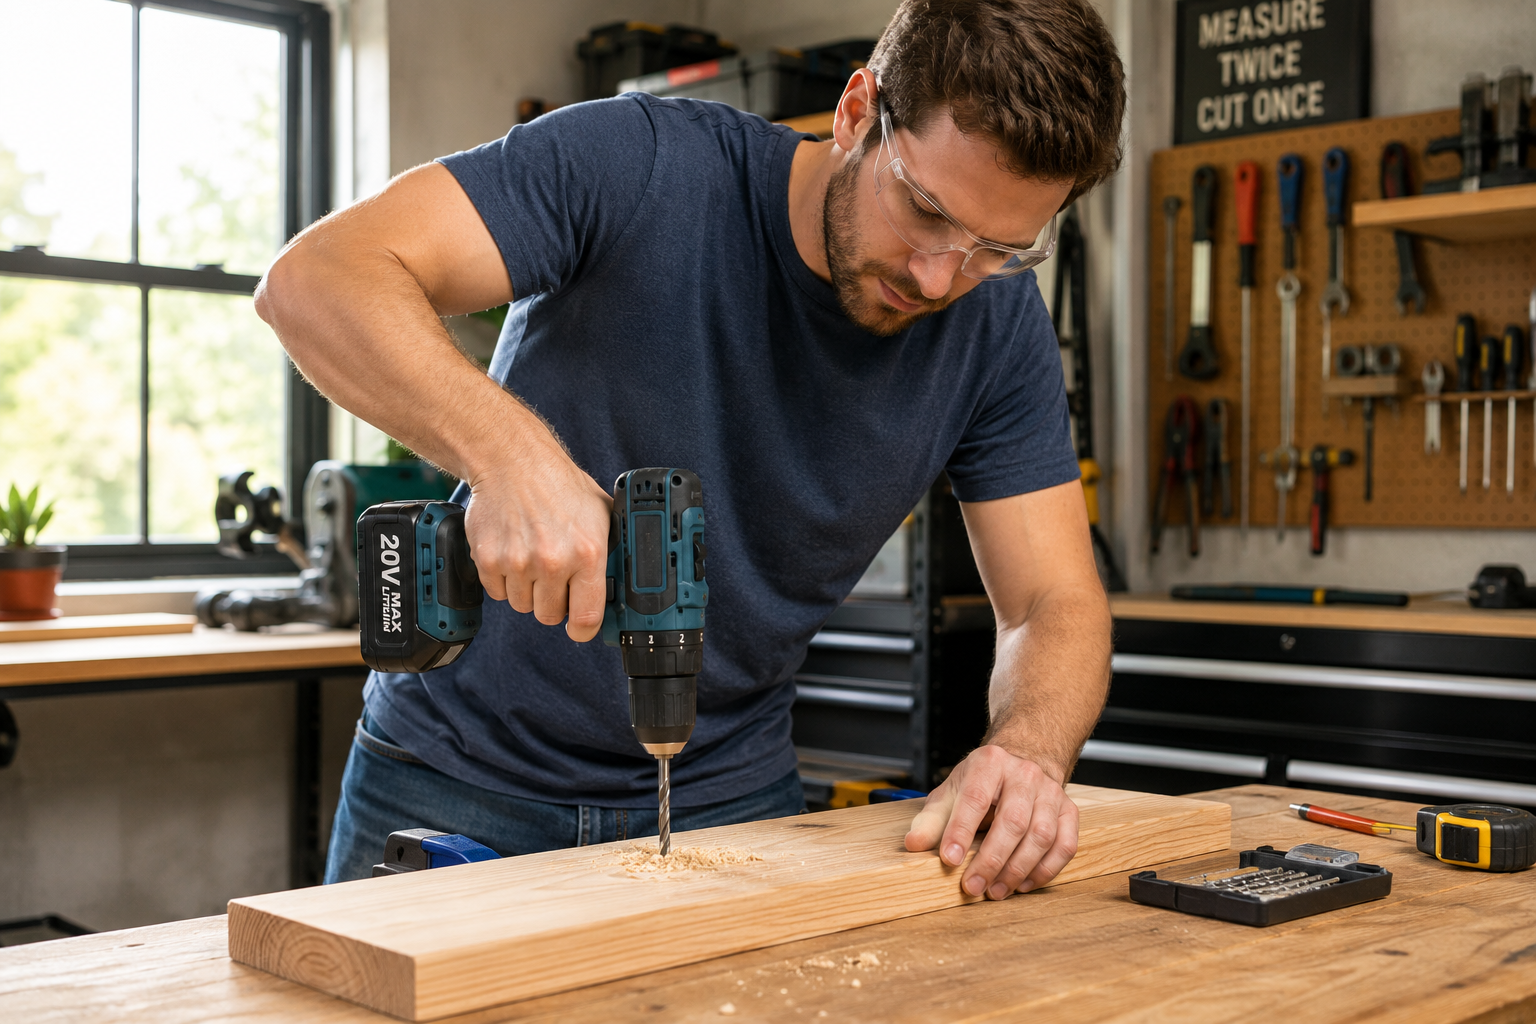
How to Use a Cordless Drill: Know the Basics
Most cordless drills share the same basic controls. Their exact positions vary by model, but understanding what each one does will prevent many of the mistakes beginners make. OSHA’s hand and power tool safety guidance is also a useful general reference for safe portable-tool use.
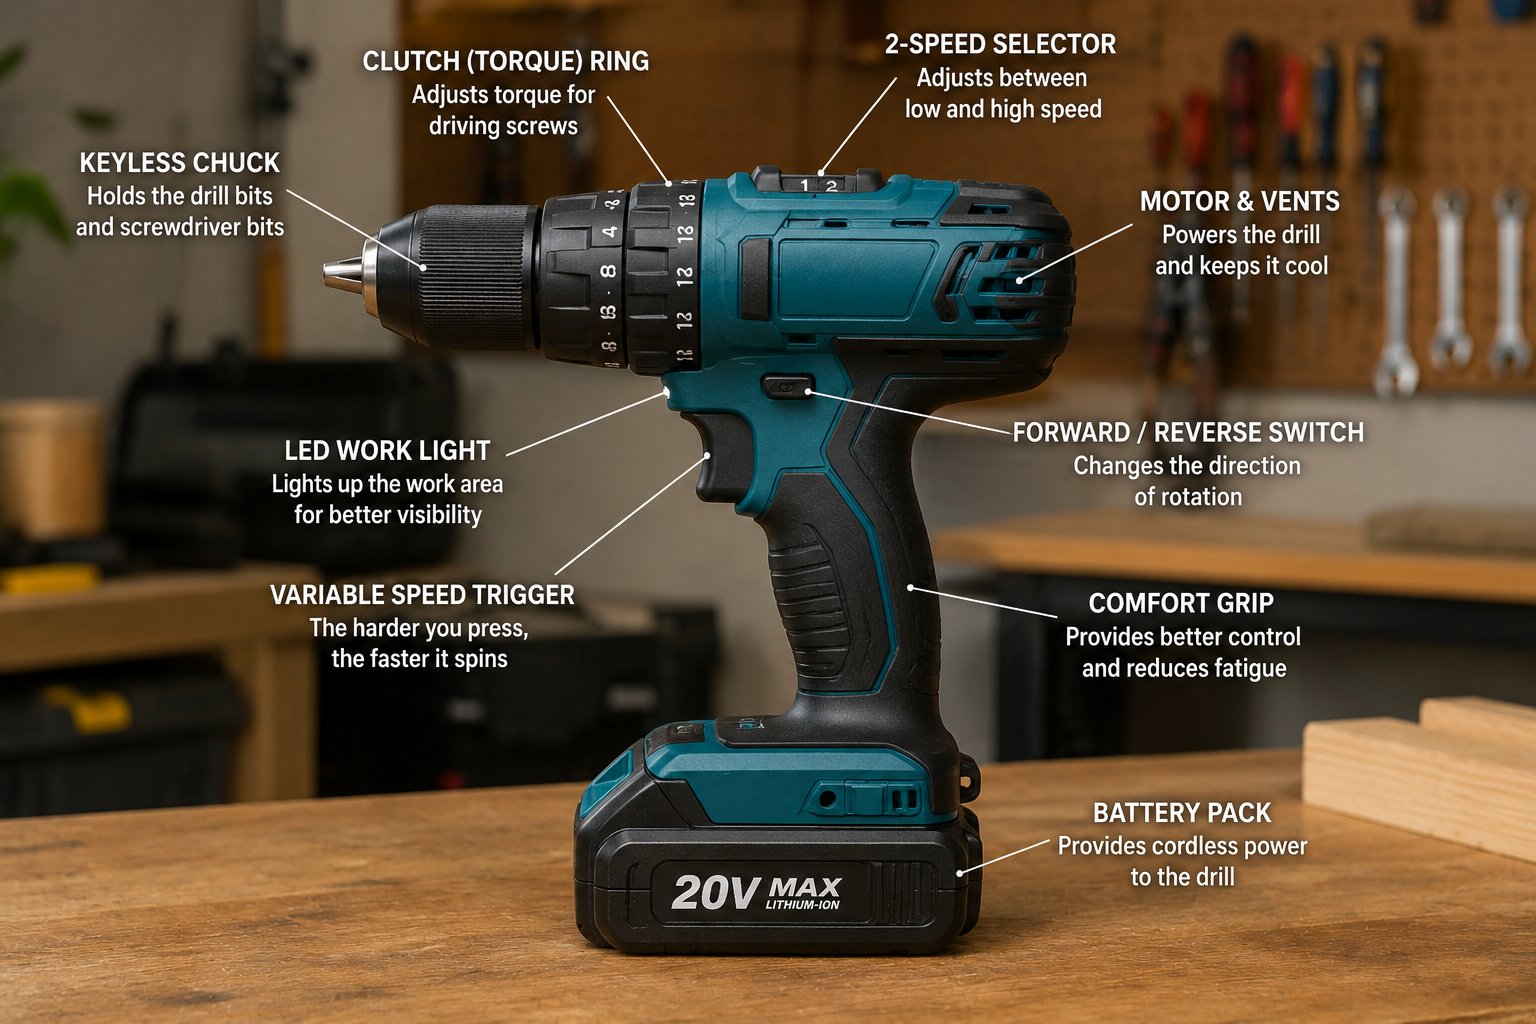
Holds the drill or driver bit. Most modern cordless drills use a keyless chuck that tightens by hand.
A light squeeze gives you slow, controlled rotation; pressing farther increases speed.
Forward is used for normal drilling and driving. Reverse backs screws out and can help free a bit.
The numbered collar limits torque when driving screws. Lower numbers disengage sooner; higher numbers allow more torque.
Gear 1 is generally slower with more torque and control. Gear 2 is faster and commonly used for drilling.
The drill-symbol setting bypasses the clutch so the tool can deliver continuous torque while drilling.
Before You Drill: Set Up the Tool Correctly
1. Choose the right bit
For a hole, choose a drill bit made for the material you are working with—wood, metal, masonry, plastic, or another material. For a screw, use a driver bit that fits the screw head precisely. A loose-fitting driver bit is much more likely to slip and strip the fastener. If the cutting edges on your drill bits are worn, our guide to sharpening drill bits explains when and how to restore them.
2. Install the bit securely
With the trigger locked or battery removed when appropriate for your tool, open the chuck, insert the bit straight between the jaws, and tighten the chuck firmly by hand. Check that the bit is centered rather than trapped at an angle.
3. Select the direction
Set the forward/reverse switch to forward for normal drilling and screwdriving. Make sure the switch is fully engaged before pulling the trigger. Many drills lock the trigger when the switch sits in its center position.
4. Choose the gear
For screwdriving and jobs where control matters, the lower-speed gear is a sensible starting point. For many drilling jobs, the higher-speed gear is appropriate. Your drill’s manual takes priority because gear ranges vary between models.
5. Set the clutch or drill mode
When driving screws, start with a modest clutch setting and increase it until the screw reaches the depth you want. When drilling holes, switch to the drill symbol so the clutch does not intentionally disengage during the cut.
How to Drill a Hole With a Cordless Drill
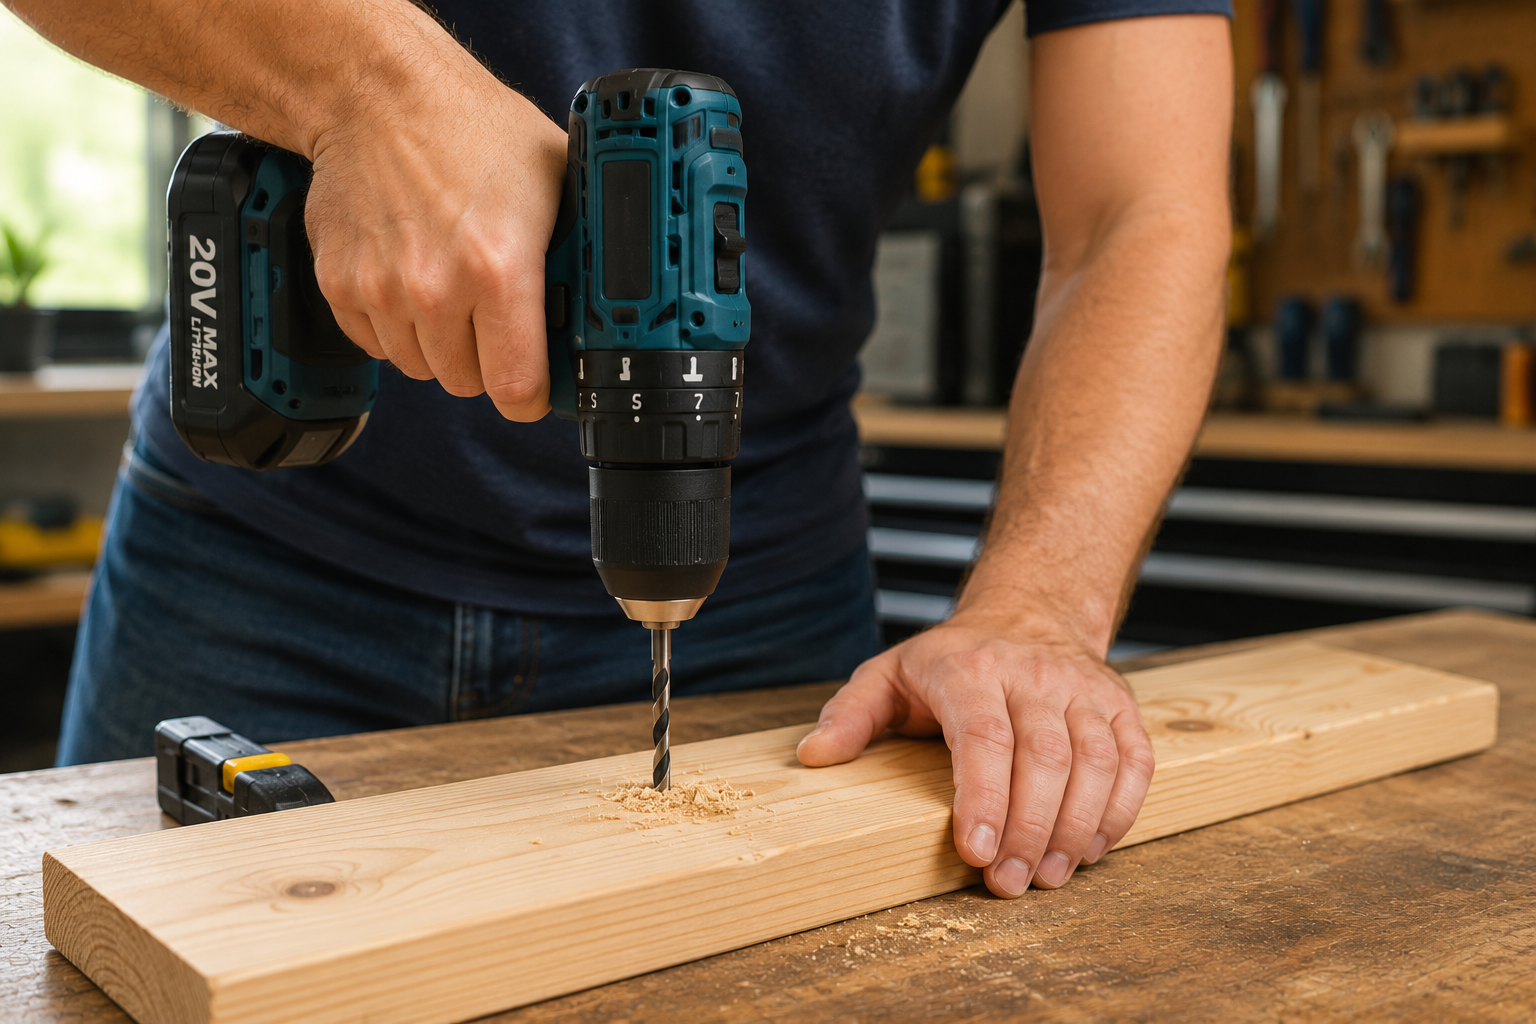
Step 1: Mark the hole
Mark the exact drilling point. A clear mark makes it much easier to notice if the bit begins wandering before the hole is established.
Step 2: Secure the workpiece
Clamp loose material whenever practical. Check what is underneath the workpiece so the bit can exit safely without hitting your bench, a clamp, a fastener, or something hidden below.
Step 3: Position the drill
Place the tip on your mark and align the drill with the intended hole. For a normal perpendicular hole, check your alignment from more than one direction rather than relying on a single viewing angle.
Step 4: Start slowly
Squeeze the trigger gently until the bit establishes a small recess. Starting slowly gives the bit less opportunity to skate away from your mark.
Step 5: Let the bit cut
Increase speed as appropriate and apply steady pressure. You should guide the drill forward, not force it. Excessive pressure can overheat the bit, reduce control, and make a binding event more abrupt.
Step 6: Clear chips on deeper holes
If chips build up, periodically withdraw the bit while it is rotating to help clear debris. Stop if the bit binds rather than trying to overpower it.
Step 7: Ease up near breakthrough
Reduce pressure as the bit approaches the far side of the workpiece. This gives you more control at breakthrough and can help reduce tear-out in wood.
How to Drive Screws With a Cordless Drill
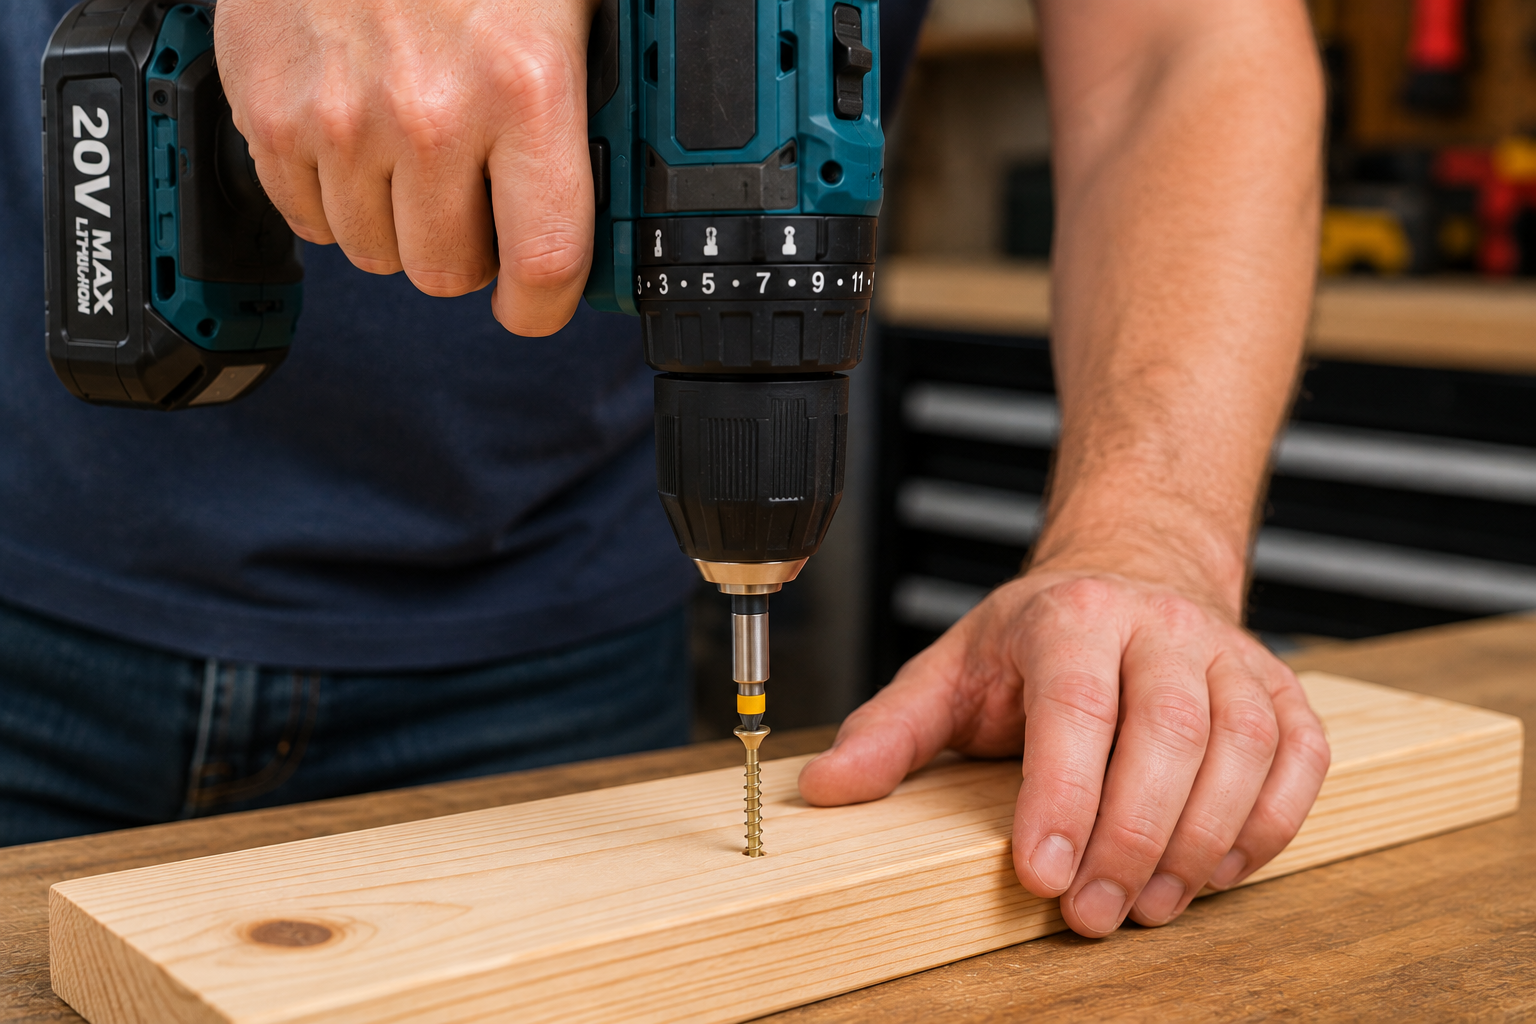
A drill can double as a powered screwdriver, but screwdriving rewards control more than raw speed. If you regularly drive long structural fasteners, an impact driver may be the better tool; our cordless drill vs impact driver comparison explains the difference.
Step 1: Match the driver bit
Use the correct bit type and size for the screw. Seat it fully in the screw head before applying power.
Step 2: Use a controllable gear and clutch setting
Start in the lower-speed gear and choose a relatively low clutch setting. If the clutch slips before the screw is deep enough, raise the setting gradually rather than jumping straight to maximum torque.
Step 3: Keep the drill in line
Hold the drill on the same axis as the screw. Angling the tool makes it easier for the bit to cam out of the screw head.
Step 4: Start slowly
Use gentle trigger pressure until the screw bites into the material. Then increase speed slightly while keeping firm, straight pressure on the driver bit.
Step 5: Slow down at final depth
Reduce speed as the screw approaches the surface. Let the clutch do its job instead of burying the screw deeper than intended.
What Do the Numbers on a Cordless Drill Mean?
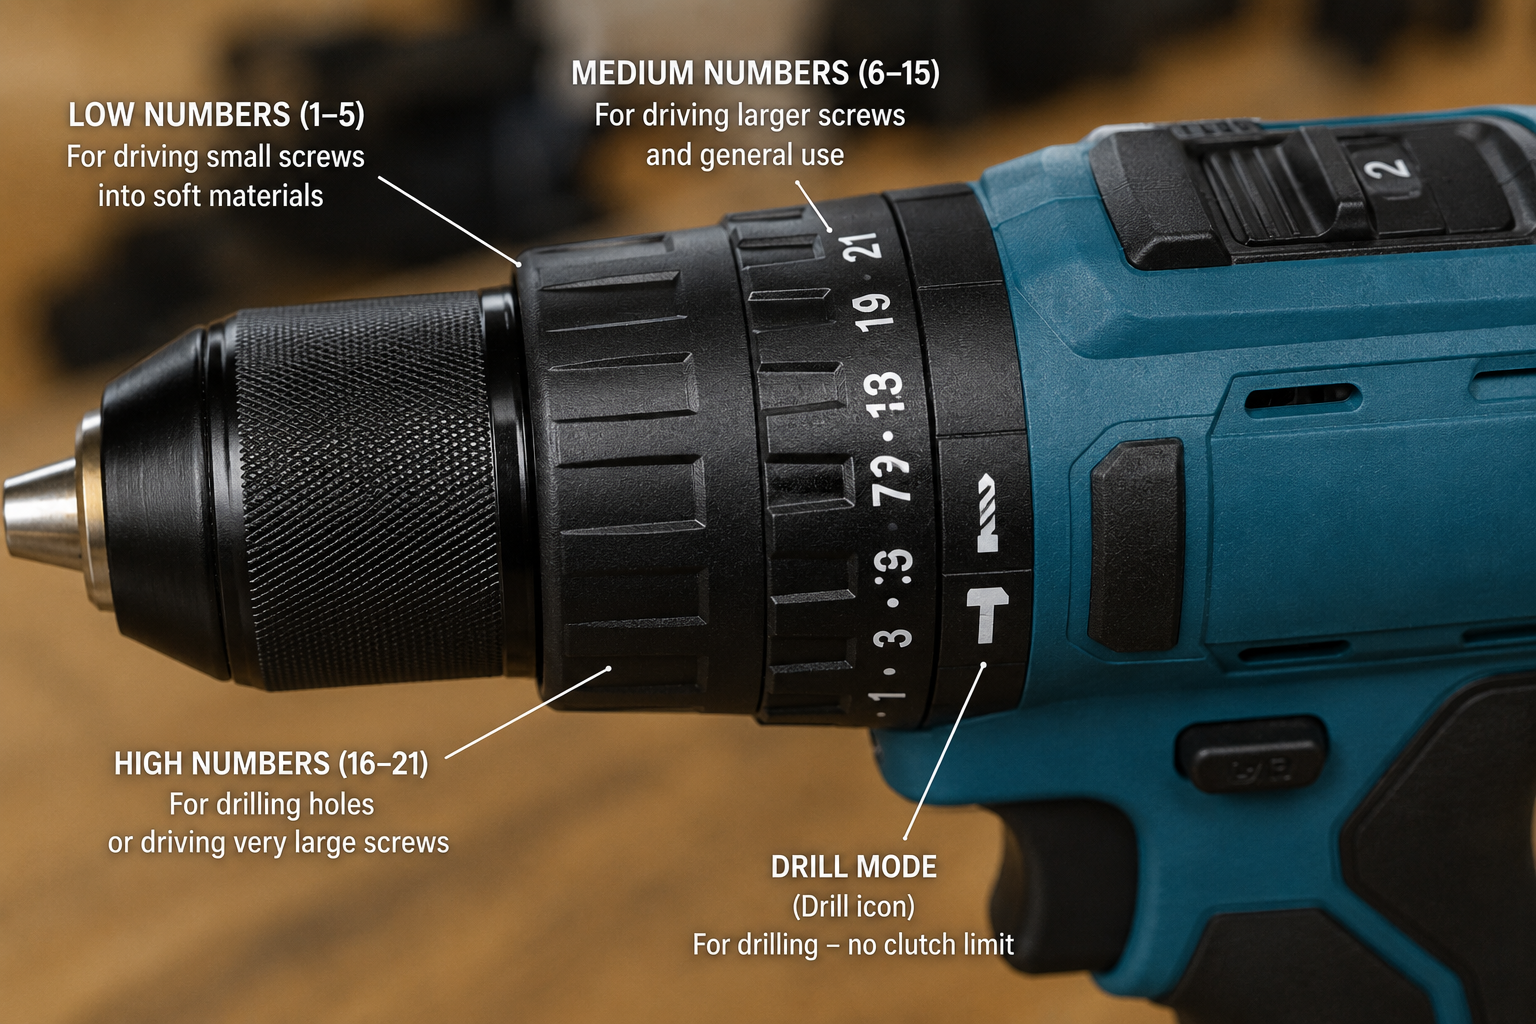
The numbers around the clutch are torque-control settings, not speed settings. At a low number, the clutch disengages with relatively little resistance. Higher numbers allow more torque before it slips. This is useful when you want several screws driven to a similar depth without repeatedly overdriving them.
There is no universal “correct” clutch number because the scale varies by drill and the required torque changes with screw size, material, pilot holes, and depth. Start low and increase the setting until the fastener seats correctly.
| Task | Practical starting approach |
|---|---|
| Small screws | Lower clutch setting, low speed |
| Larger screws | Increase clutch gradually as needed |
| Drilling holes | Drill mode, appropriate gear for the bit/material |
| Removing screws | Reverse, controlled trigger pressure |
7 Cordless Drill Mistakes Beginners Should Avoid
- Using the wrong bit. Match both the bit type and size to the material or fastener.
- Leaving the chuck loose. A poorly secured bit can wobble, slip, or fall out.
- Starting at full speed. Slow starts improve accuracy when beginning holes and screws.
- Forcing the drill. More pressure does not automatically mean faster cutting.
- Ignoring the clutch. Maximum torque makes it easier to strip or overdrive screws.
- Drilling out of alignment. Check that the tool is aligned with the hole or fastener before committing.
- Continuing with a dull or damaged bit. If cutting becomes unusually slow or requires excessive force, inspect the bit.
Cordless Drill Safety Checklist
- Wear appropriate eye protection; use hearing and dust protection when the task requires it.
- Secure loose workpieces instead of holding them close to the bit.
- Check walls, floors, and concealed areas for wiring, plumbing, and other hidden services before drilling.
- Keep hands clear of the rotating bit and chuck.
- Remove the battery or otherwise prevent accidental startup before changing accessories when directed by the manufacturer.
- Do not touch a bit immediately after demanding drilling; it may be hot.
- Release the trigger immediately if the bit binds or the tool becomes difficult to control.
- Follow the operating and safety instructions for your specific drill, battery, charger, and accessories.
Cordless Drill vs Hammer Drill: When Do You Need Hammer Action?
A standard drill is excellent for wood, many metals, plastics, and general screwdriving with the correct accessories. Masonry is different. A hammer drill adds a rapid hammering action designed to help a masonry bit work through materials such as brick and some concrete. For a broader look at drill types and what each is designed to do, see our best hammer drills guide.
If masonry work is on your project list, read our hammer drill vs regular drill guide before choosing a tool. For demanding concrete drilling, a rotary hammer may be more appropriate than either. If you do choose a hammer drill, our beginner’s hammer drill tutorial covers setup and technique.
Frequently Asked Questions
What setting should I use on a cordless drill?
Use drill mode for drilling holes. For screws, start with a lower clutch setting and increase it until the screw reaches the desired depth. Choose the gear according to the task and your drill manufacturer’s guidance.
What do the clutch numbers mean?
They control how much torque the drill delivers before the clutch disengages. Lower numbers limit torque sooner; higher numbers allow more.
Why does my drill bit keep slipping?
The chuck may be loose, the bit may not be centered, or the bit may be worn or damaged. Stop the tool and inspect the installation before continuing.
Should I push hard when drilling?
No. Apply steady, controlled pressure and let the bit cut. If the job suddenly requires excessive force, stop and check the bit, material, speed, and setup.
Can I use a cordless drill as a screwdriver?
Yes. Install the correct driver bit, use a suitable clutch setting, keep the drill aligned with the screw, and control the trigger rather than driving at full speed.
Can a regular cordless drill drill concrete?
A standard drill is generally not the best choice for concrete. A hammer drill with the correct masonry bit is better suited to many masonry tasks, while more demanding concrete work may call for a rotary hammer.
The Pelstro Bottom Line
Using a cordless drill well is mostly about control: match the bit to the job, secure it properly, start slowly, keep the tool aligned, and use the clutch instead of relying on maximum torque. Learn those habits early and the drill becomes a dependable tool for everything from hanging shelves to building furniture.
Still choosing a drill? See our 7 Best Cordless Drills of 2026 for our current recommendations. You can also continue with our How to Use an Impact Driver guide.
Pingback: How to Use an Impact Driver: A Beginner’s Guide - Pelstro
Pingback: How to Use a Hammer Drill: A Beginner’s Guide - Pelstro
Pingback: How to Maintain Your Power Tools: A Complete Beginner’s Guide - Pelstro
Pingback: How to Sharpen Drill Bits: Step-by-Step Guide | Pelstro
Pingback: DeWalt DCD805 Review: Is It Worth It in 2026? - Pelstro
Pingback: How to Store Power Tools Properly: A Complete Guide - Pelstro